Introduction
SAML is an easy way to provide Single Sign-On functionality in vCloud Director. Here I will show you how to set it up with Microsoft Azure AD.
Innehåll
Configure vCloud Director
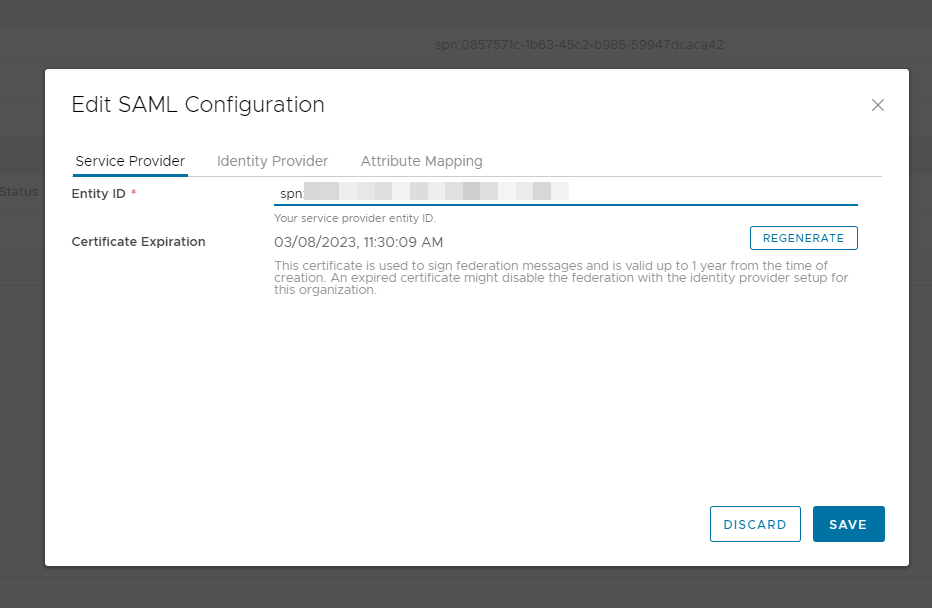
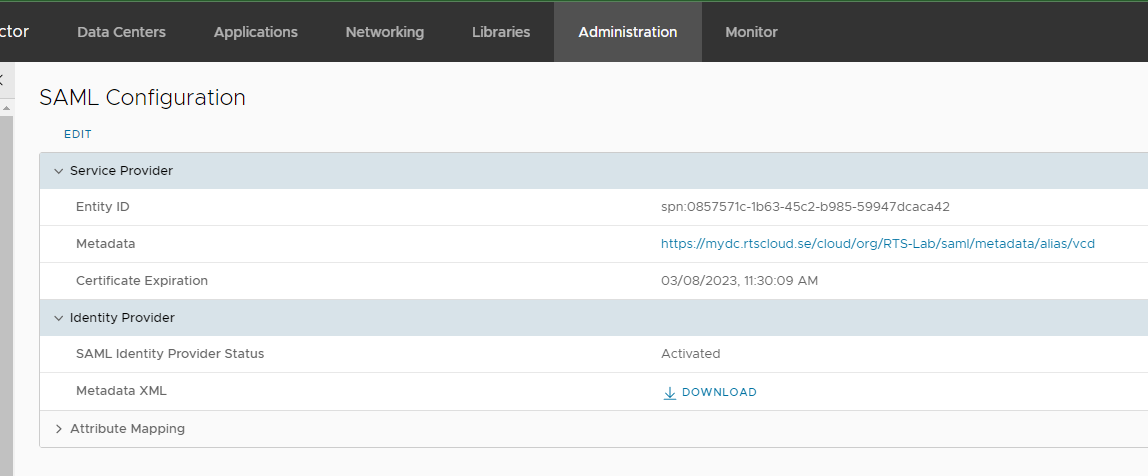
Log into your vCloud instance (provider or tenant) as an administrator and click on the Administration tab. Under Identity Providers select SAML and then click Edit.
In the Entity ID field, enter some name to identify your vCloud instance.

Leave the other tabs for now and click Save to go back to the SAML configuration page. Click on the Metadata link to save it as a file.

Creating an Enterprise App in Azure AD
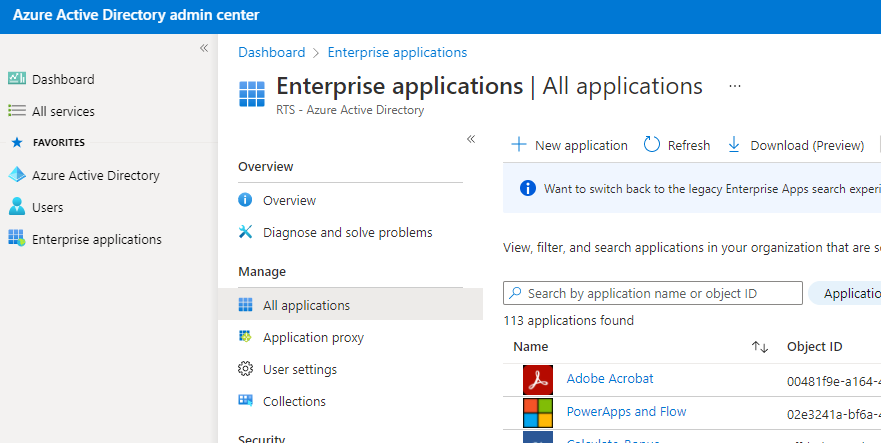
Log in to Azure Active Directory admin center and select Enterprise applications in the menu to the left. Click on New application and in the following page Create your own application.

Enter a name for your vCloud provider or tenant that you are setting up. Select the “integrate any other application … “ option and click create.
Setting up SAML in Azure AD
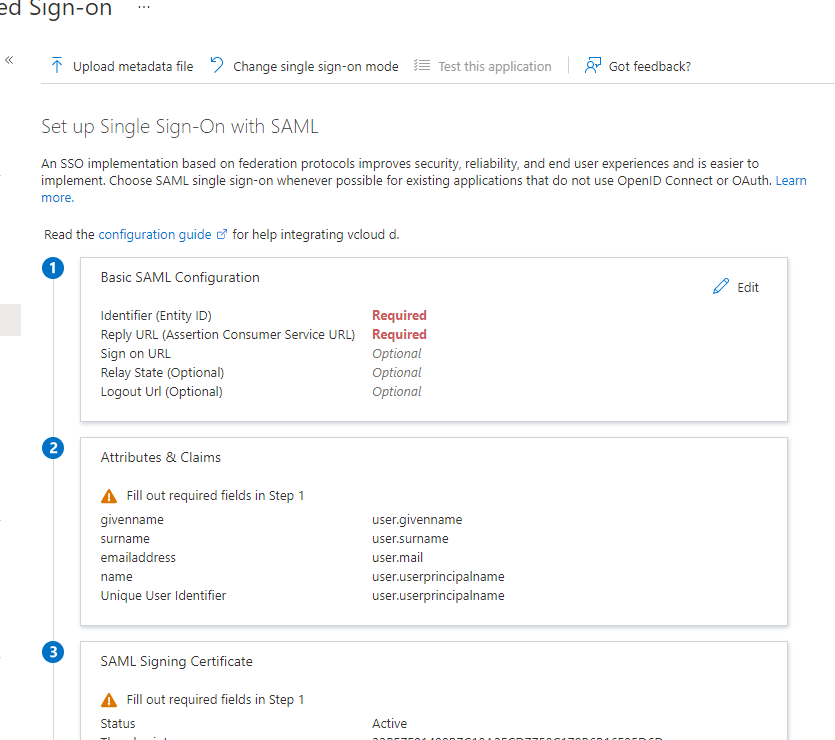
Under Enterprise application, you click on Single sign-on. At the top you click on Upload metadata file. Select the file you just saved from vCloud Director. This will populate the basic SAML Configuration with the information you need. Click Save.

On the same page, under step 3, download and save the Federation Metadata XML.
As a final configuration step you go back to vCloud Director and the configuration of SAML. Click edit and select the identity provider tab. Replace the XML with the file you just saved.
Providing User Access
As you have to manage user access from within vCloud Director anyway you might as well set Assignment Required to no in Azure AD. You do this in the properties for the enterprise application.
After that you simply go in to Administration and Users in vCloud Director, click Import Users with SAML as source. Now enter the emails of all users that should have access as well as their role.